Come Correct: Rail Basics with Shaun Murray
A few weeks ago we took some laps with Shaun Murray out at the Orlando Watersports Complex (OWC). While doing so, he walked us through some of the basic terminology and techniques of rail riding. Below, Murray explains some of the terminology that riders often find confusing and also introduces two basic rail slides (50/50 and Backside Boardslide. Be sure to check back next week for the second installment of this Come Correct feature where Murray chats about some more advanced rail hits! (Text by Murray; Photos by Aaron Perkins)
The Basics
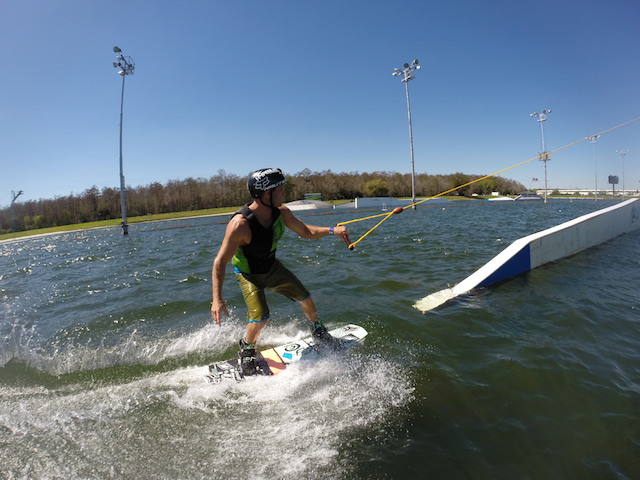
There are two different terms to explain a rail slide. First is the approach, frontside, when the rail is on the rider’s toeside, and backside, when the rail is on the rider’s heelside. The second is the rider’s board move. If only the front foot crosses over the rail it is called a Boardslide. If the rider’s back foot crosses over the rail it is called a Lipslide.
Depending on the material of the rail, the amount of friction determines how slippery it feels. Most rails and kickers are some type of plastic. Different plastics are faster than others and require you to be much more on top of your board rather than leaning back against the rope.
Making it to the end of a rail is something riders will always battle. Rather than focusing on the beginning of the rail when you begin your approach, look at the end so you are sending yourself there. You can then change your focus back to the beginning of the rail just before you get to it. This should help you reach the end of the rail more consistently.
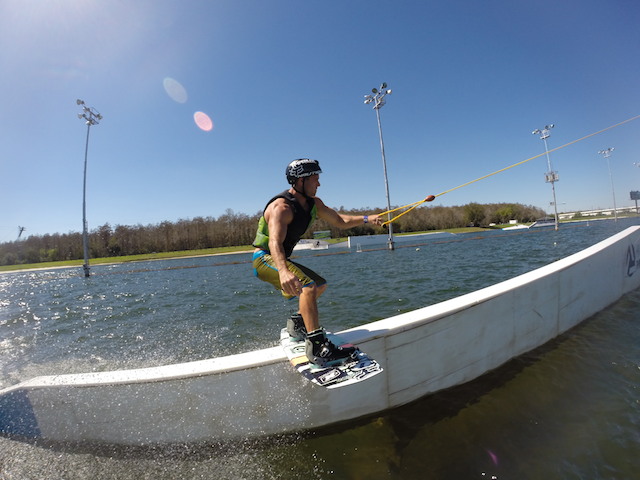
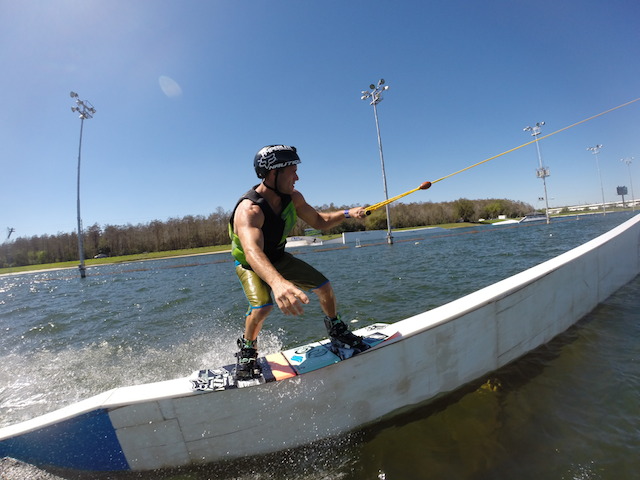
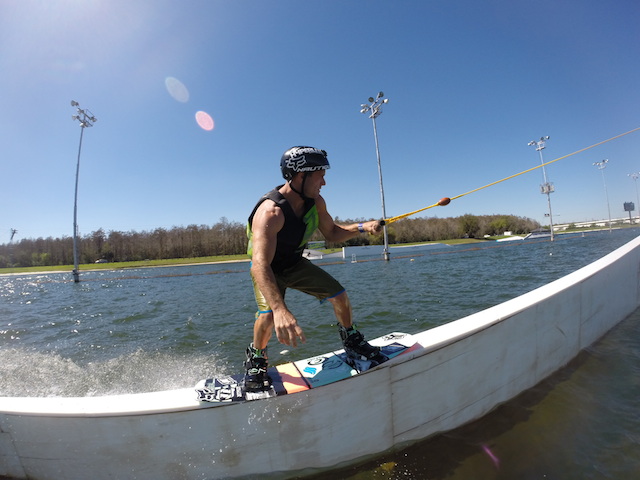
Keeping the handle in tight, low, and very still will also give you better control to either pull in more or let it out if you are going off either side of the rail early. It’s tempting to let the handle out far from your hips as you begin your rail hit, so avoid that. You can begin to hit rails doing basic 50/50’s and then start to slowly progress into different slides like Board or Lipslides. Once you learn the end result of different slides, try keeping them legit by not making contact with the rail until you are in the final position of a slide, which is typically 90 degrees to the direction of the rail.
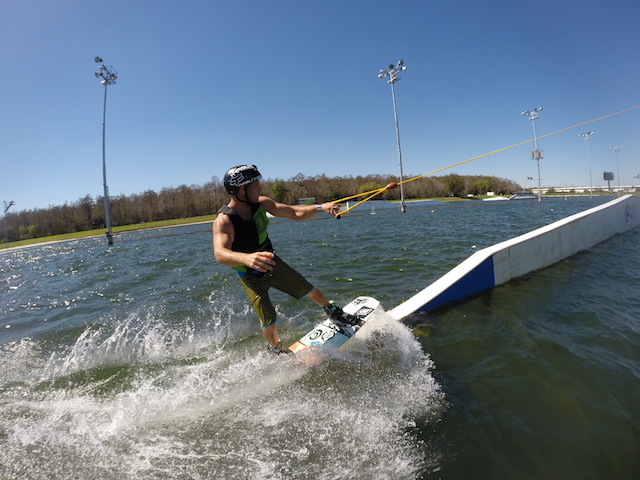
50/50
50/50 is probably one of the best ways to learn to slide as well as feel out a new rail. Edges are less likely to catch and you have much more board to lean back against as you feel the speed of the rail. For legitimacy, be sure your board is parallel with the direction of the rail.
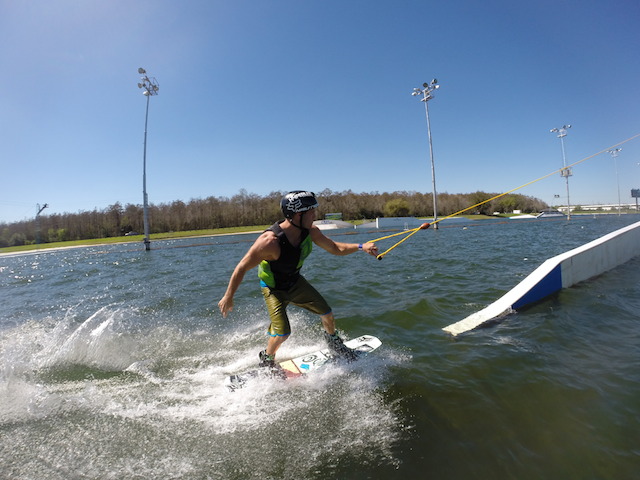
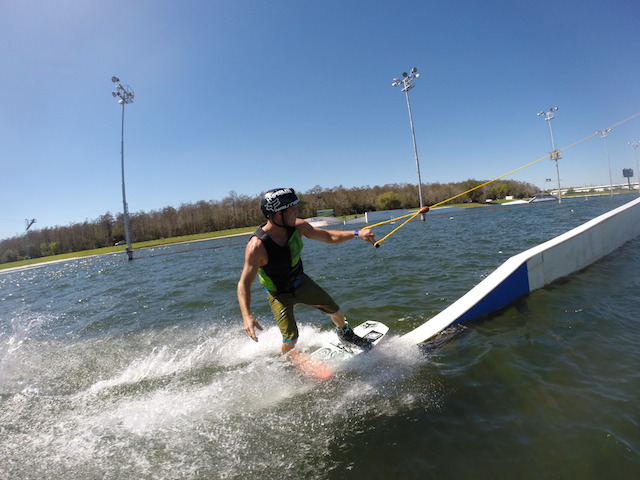
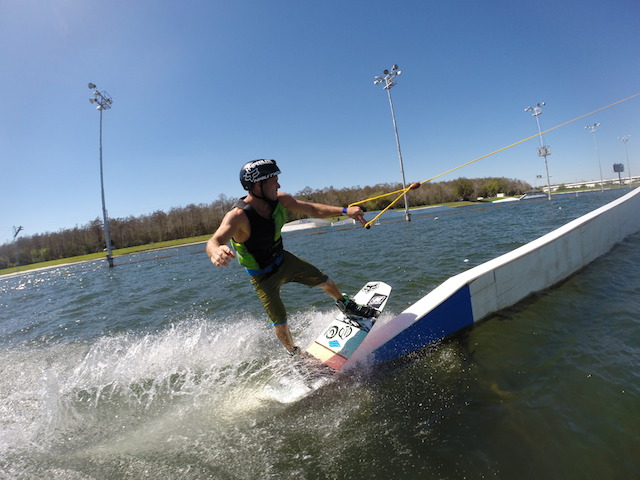
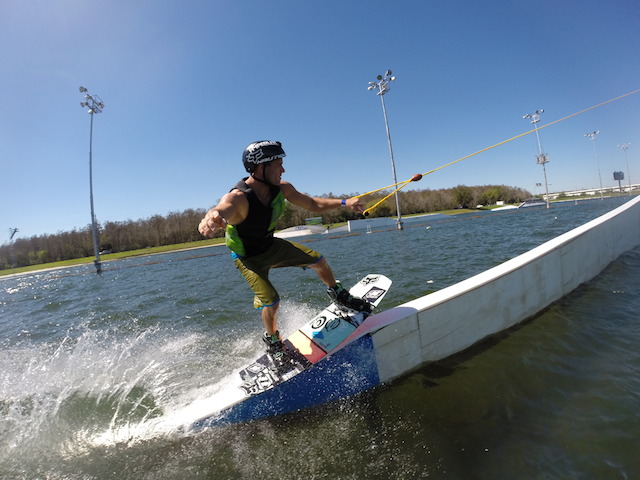
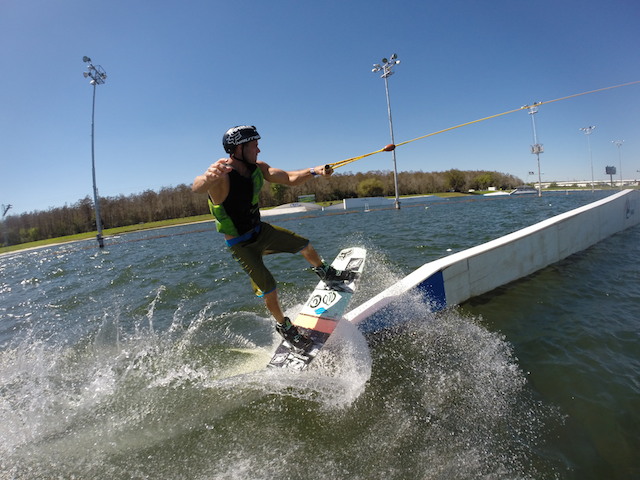
Backside Boardslide
A Backside Boardslide is the easiest for most people to do. Take an easy progressive heelside edge and aim for beginning of the rail but look at the end of the rail. This gives you a better line to stay on the rail and avoid coming off too soon. Stay on edge up to about 5 feet from rail and then it’s important to flatten out…this will prevent you from slipping out the back when getting on the rail. Once on the rail, get your weight over your toes and keep the handle low and still.