101: How To Wax A Wakesurfer
How to wax your wakesurfer for pure sticking to the board when wakesurfing is really a simple formula and task. Today we chose Mr. Zogs “Sex Wax” Quick Humps, 3X Cold to Cool water. This seems to be the perfect wax for the cold water if your wakesurfing in the spring time. In these steps below I will explain the cross hatch method and the swirl method for creating humps and bumps for grip on your wakesurfer.
Step 1: Pick your desired brand of wax. There are many kinds like Agenda Surf Wax, Quick Bumps, Bubble Gum, or in this case Sex Wax. Each brand has its own formula, tacky feel, smell, and brand packaging. You really cannot go wrong unless using the wrong tempature of wax for the wrong water temp. If the water is to warm and you’re using cold water wax. The wax will smear and the board will be useless. If the water is cold and your using warm water wax. Realize the wax will be as hard as a rock and if you do not have wetsuit booties on good luck sticking to the deck of that board. So it is really important to have the correct tempature of wax for best grip. That way you will have confidence and get your shred on.

Step 2: Below is a picture of how to hold the wax. Really the bottom line on this step is no wrong way. I just wanted to show you that what ever is easiest and most comfortable holding the wax is really the bottom line.

Step3: In this step and picture you see I swirled or smeared the wax to make a texture. To create this look and feel make cirlular motion on the deck of the wakesurfer. After a while bumps will form. If you get a real smeared look you might have the wrong tempature of wax for the environment. Always check to see what the water temps are in your local area with reports for the lake,river, or lagoon for correct temp choice in wax.

Step 4: The cross hatched wax job. When you make the tick tack toe design with your wax on the wakesurfer it’s more of a look but still surves a purpose for grip. Some athletes that are not that well with the swirled application and process of waxing the board, this style of wax job will be the easiest and serves a great purpose. But wax the board with a left to right motion over the grid pattern, humps will form for you and you will get that desired grip you’re going after.

Step 5: In this picture below you see I used both styles of waxing the board, “Grid or Swirl”. Both styles have created a good texture with covering the deck of the board. This is just to show you what your choice’s look like.

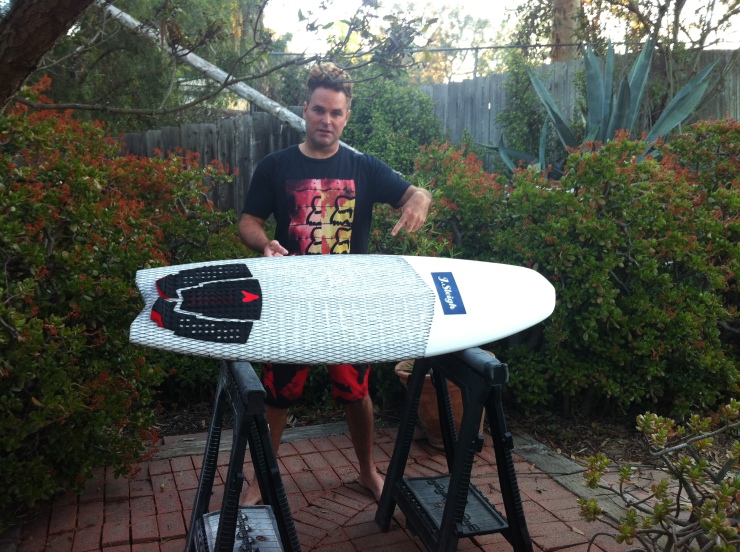
Step 6: This is just to show you me looking funny with a tree coming out my neck. 🙂 Nah, but look at what I’m pointing at on the board. Both a swirled wax application and cross hatched wax application. No way is the wrong way I say. Each has a general purpose and each time you wax your board you will get a better looking wax job than the last. I hope this 101 was informative and fun. Now go practice, test, and get your shred on!


