The Top 10 Rules to a Pro Sticker Job with Oli Derome
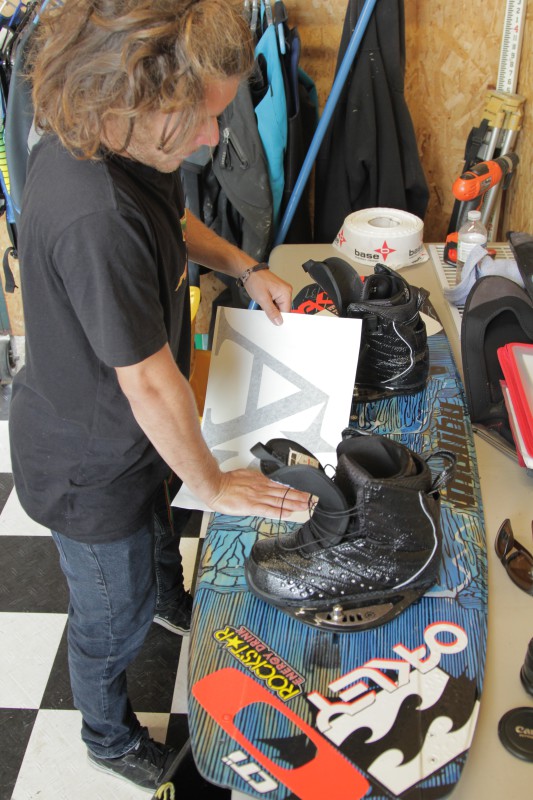
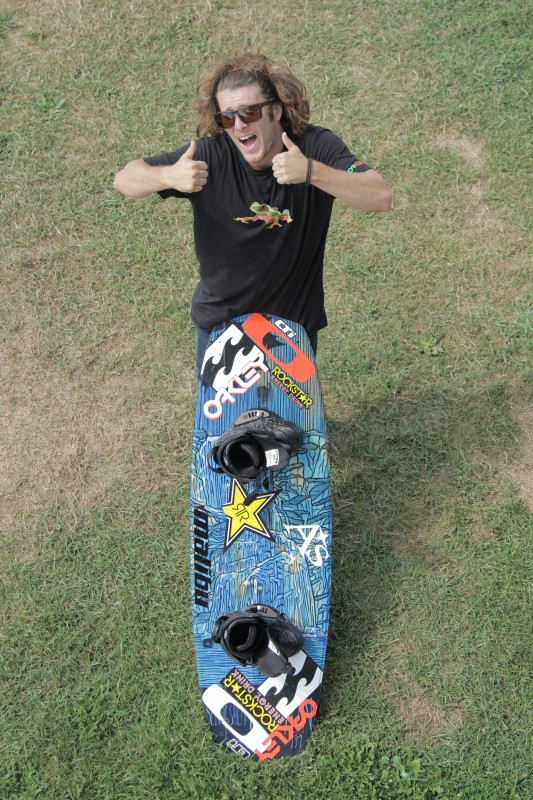
I don’t think I’ve ever met anyone who takes more time than Oli staring at their board with a pile of stickers on it and dreaming of the endless possibilities. He’s like a weird french artist with a pony tail and a mustache that should be on channel 2 (the channel that always sucks regardless of the cable provider) explaining his techniques for the whole world to devour. I recently had the chance to pick his brain over a 48.6 minute sticker session at Bow lake in Washington. After watching his work he’s definitely the only person I would trust to stick my screen protector on the face of my i-phone. Here are the rules he lives by when it comes to his art:
1. Research shows that the tip and tail of the board get maximum exposure, as does the bottom of the board, so these should be the 3 areas of focus when working with stickers. The bottom is a unique process that we can discuss later.
2. For stunning results, try interlacing the stickers so that they overlap each other creating textures, but not hindering the visibility of any one sticker or logo.
3. Some boards have challenging surfaces such as grooves, step dow rails, etc. The best technique for these surfaces is to go extra slow and use the top of your fingernail to smoothly apply the sticker at a controlled pace. Deep yoga breath’s are also encouraged to avoid a shakey hand, otherwise you may end up ripping the O or the Y in your Oakley sticker which yes, I am assuming you have.
4. If you have multiple colors of the same sticker, try layering them slightly off center to create cool outlines with different colors.
5. Make sure you don’t put stickers on your board that represent competing brands. For example, a Ronix sticker on your Slingshot board, which will definitely blow your cover when it comes to everyone assuming you are “pro”.
6. Do it somewhere where you can be alone. There’s nothing worse than all your buddies hovering over you and spoiling the moment with all their suggestions and criticisms. You have a vision, so stick to it!
7. Don’t do it on a dock or anywhere that is vulnerable to sudden gusts of wind. Also don’t do it when you are hungover…Your focus is limited and your hand are shaky.
8. Remember that when you are done with the job, you still have to put your boots on your board. Nothing kills your art buzz like the moment you realize that you’re stickers are all too far down the nose and now you have to ride it with your boots all the way in…
9. For the base of the board, apply die cut stickers and then tape the area off. Find a can of your favorite color spray paint and create a negative space logo by spraying over the sticker and removing it once the paint dries. Then you can clear coat if you want to go the extra mile (which I do).
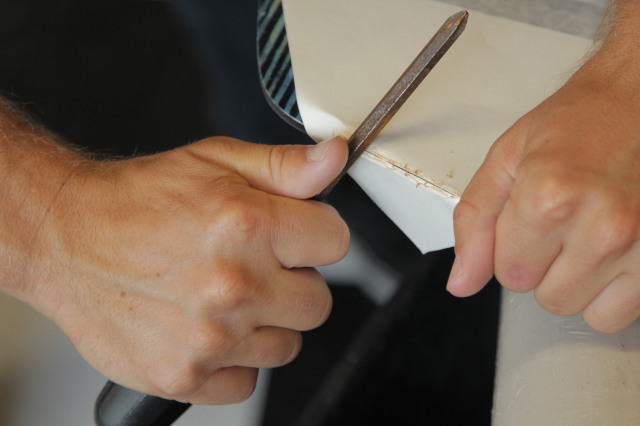
10. If you want to get really tricky, try applying stickers so that they hang off the edges of your board slightly, then you can come back with a fin or screwdriver and rub it over the sticker like you are filing the edge of the board. This will create the perfect cut, trimming off the overhang.


August 10, 2011
2012 newton?